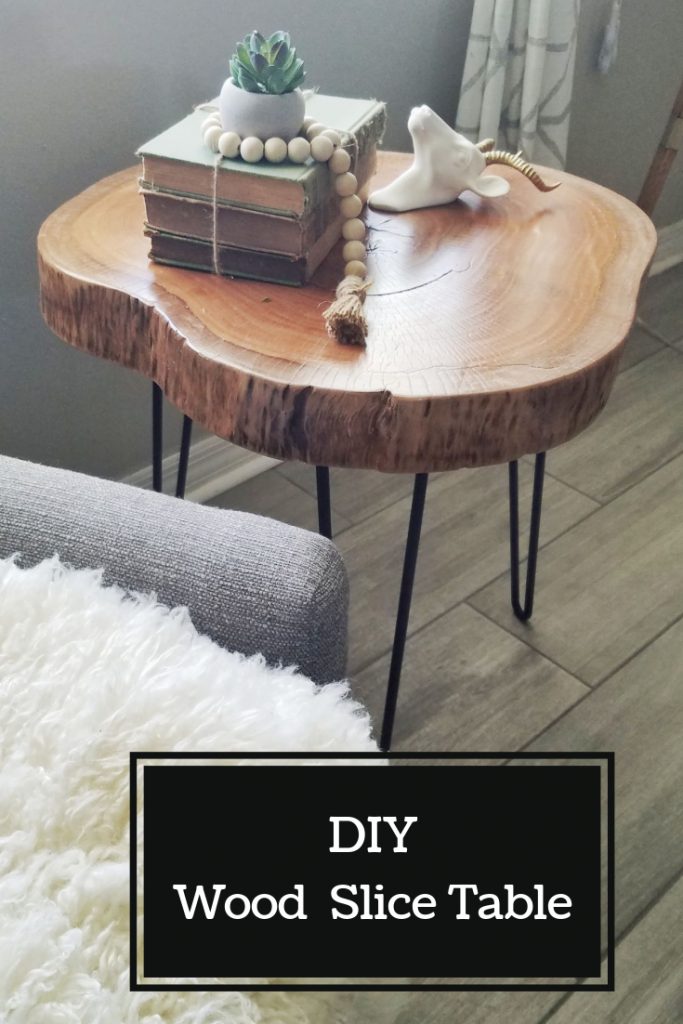
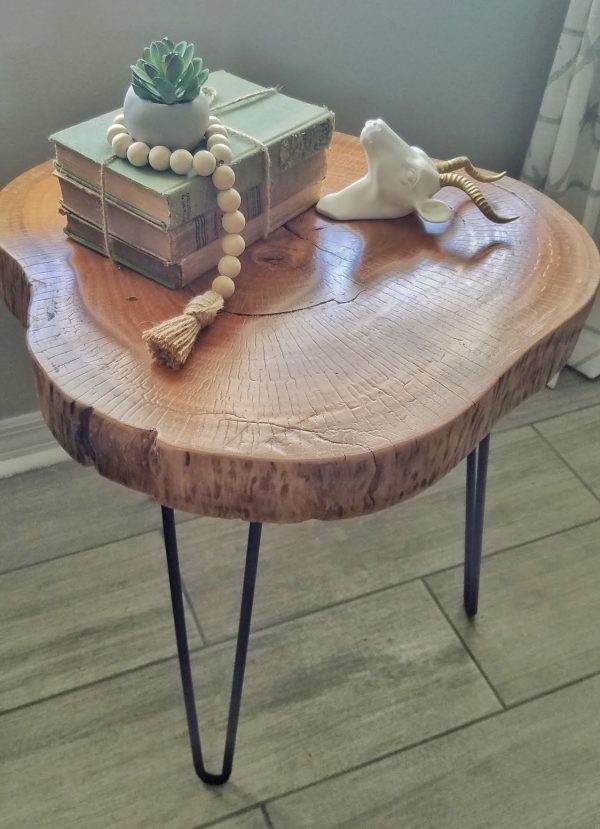
Hola!!! I’m sooooo excited to show you this set of tables we made for our home, I’ve been wanting wood slice side tables for awhile but we just haven’t had time to build some for us…. Wood slice tables are so trendy right now, thy are modern but at the same time they are rustic and add so much character to a place, that’s why I love them, so here is how we made them:
Materials:
- Wood slice
- Orbit sander
- Hairpin legs
- Drill and screws
- Stain (optional)
- Seal (optional)
Let’s do this:
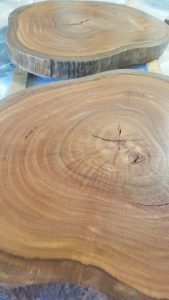
So you are probably wondering where did we get these wood slices, we got these wood slices from our local lumber distributor, but you can try finding them on Ebay, Offerup or even try landscaping or tree trimming services sometimes they will even give them out to you for free.
The metal hairpin legs you can buy from Ebay, Amazon or you local hardware store and I used 16” long but you can choose any length you want, it’s all about you preference.
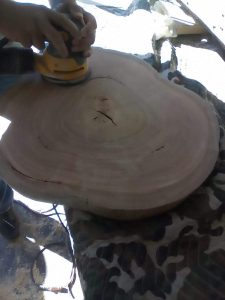
The first step you will need to do is to sand the wood slice as smooth as you prefer, I like to have a little bit of character on mine so I left some imperfections and noticeable knots and dents. Then after you clean it off, you can start staining if you’d like and applying a sealer per sealing instructions. We didn’t stain it as we liked its natural color but we did seal it to protect the wood from water stains (and future child damage lol).
Finally, after the seal has dried and cured you can put the legs using your drill and screws and TA-DA…. Your wood slice table is done and ready to use!
This is a pretty quick and easy DIY project and I love the end result. If you try this DIY please post your comments and pictures below I would love to see it!
Thank you so much for visiting, see you next time!