
The Short Version
Prefab walk-in kits cut out the multi-day cure times for mortar beds, waterproofing membranes, and grout, so occupancy is faster than with custom tile. Small bathrooms can hide soft subfloor damage behind tub surrounds, often discovered during demolition when slow leaks at caulk joints get exposed. Curbless showers on slab foundations require recessing concrete below floor level or building up surrounding floors so they pitch toward the drain. Shower drains typically need relocation from the tub’s end position to the center of the alcove so the floor pitches evenly. Fixed glass panels shield the wettest zone while leaving the alcove open, eliminating door tracks that collect mildew.
What you’re actually getting
Converting a fiberglass tub to a walk-in shower means demolition, plumbing adjustments, waterproofing, and installation of the new base and walls. The timeline depends on shower type, existing plumbing condition, subfloor state, and structural work like drain relocation or threshold changes.
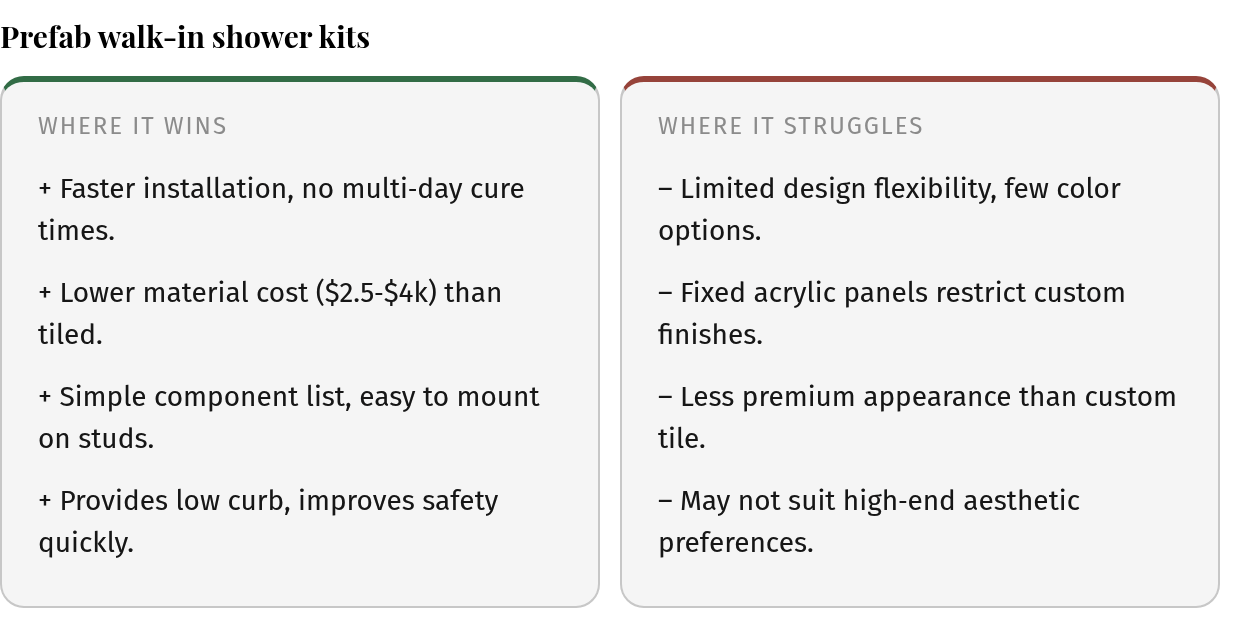
Prefab versus custom tile: timeline impact
Prefab walk-in kits move faster. A clean three-day timeline runs demolition and rough plumbing first, prefab pan and wall panels mounted directly to studs next, and silicone cure and inspection downtime before use. Custom tile, hidden subfloor damage, drain relocation, or permit delays stretch the timeline beyond that. Custom tile adds days because waterproofing membranes, mortar beds, tile setting, and grout each need cure time before the next phase starts. Recessed niches, bench seats, or linear drains stretch the schedule further.
What slows down small bathroom conversions
Opening walls during demolition sometimes reveals soft subfloor from slow leaks at caulk joints—a known weak point in tub surrounds. Repairing structural damage must finish before waterproofing begins. If the drain needs moving, it requires opening the subfloor and rerouting pipes, adding time to rough plumbing. A curbless threshold requires work: on slab-on-grade homes, the concrete gets recessed below finished floor level, or the surrounding bathroom floor builds up so the shower can pitch to a flush drain. Both options involve concrete cutting, framing, and multi-layer waterproofing that extend the project.
Why walk-in conversions make sense in compact bathrooms
When mobility changes or balance becomes less reliable, the high tub wall you step over daily turns into a safety concern. Walk-in showers get chosen for safety, easier cleaning, and opening up smaller bathrooms. A low-curb or curbless walk-in removes the high step, eliminates the sliding-door track that grows mildew, and gives you the full floor to stand on instead of forcing you into a tub basin. The room didn’t get bigger, but it feels open.
A standard tub alcove is already a solid starting point. You have three walls, a showerhead, and drain plumbing roughed into the right zone. You’re rebuilding an alcove you already own, not building from scratch. That keeps the project focused on four choices—footprint, curb height, glass style, and finish tier—rather than major structural work.
Safety and space in Tampa Bay ranch homes
In ranch homes, the existing alcove is often the only bathing space. Converting it preserves the room’s basic layout while making entry and movement less restrictive. Final schedule depends on permits, material availability, and demolition scope, but a prefab system simplifies installation.
Curbless versus low-curb is the choice that most affects both cost and accessibility. A low curb contains water and works in many bathrooms without structural changes. Curbless requires recessing the slab or building up the surrounding floor so the shower can pitch to a drain below finished surface, which involves concrete work on slab-on-grade homes. If aging-in-place is a genuine priority now or in the near future, curbless is worth it. If not, a low curb makes sense.
Configuration choices
Glass options drive both cost and the open feeling. A fixed glass panel shields the wettest zone while leaving the alcove open at the other end, with no track to clean. A framed sliding or hinged door fully encloses the shower and is the most budget-friendly option, though the track needs regular cleaning. Frameless glass is the premium choice: heavy tempered glass with minimal hardware that stays cleaner on hard water.
The drain often needs relocation, even though homeowners assume existing plumbing carries over. A tub drain sits at one end of the alcove; a shower drain belongs near center so the floor can pitch evenly. When the drain needs relocation, that work is part of the project, not an optional upgrade. Prefab acrylic wall panels speed installation, but custom tile gives more flexibility in sizing and style—it just adds cure time at each step.
One common mistake is treating a tub cut-out kit and a full walk-in conversion as interchangeable. Cut-outs preserve the existing tub while adding step-through access, which works if you need to keep a tub for resale. They don’t provide the same open floor area or clearance as a complete conversion.
Materials & tool checklist
In a compact bathroom conversion, the material and tool choices define whether you finish quickly or face a drawn-out process. Homeowners typically choose between prefabricated acrylic, mid-range tiled, and curbless luxury systems. Each option requires a different component list, waterproofing approach, and installation budget.
Prefab acrylic for speed
A prefabricated acrylic walk-in uses a molded pan and wall panels that mount directly to studs. The pan sits on the subfloor, three walls mount to framing, and once silicone cures, the shower is ready. The component list is short: acrylic base, wall panels, low curb, pressure-balanced valve, and a fixed glass panel. You skip mortar beds, membrane installation, and tile-setting cure time. Prefab kits often install more quickly than custom tiled systems, with additional time for silicone cure before use.
The tradeoff is design flexibility. Acrylic panels come in white, almond, or a handful of neutral tones. You choose from standard niche sizes and accept the molded-in soap dish and corner shelves the manufacturer provides. For homeowners prioritizing safety and timeline over custom finishes, this system delivers a low threshold and faster occupancy.
Custom tile for control over finish
A tiled walk-in gives control over every visual detail—large-format porcelain, subway tile, mosaic accents, recessed niches sized and placed where you want them—but requires heavier waterproofing and longer cure cycles. The component list expands: mortar bed or foam sloped pan for drainage, waterproof membrane, cement backer board for walls, tile, grout, bench framing if desired, and a frameless or semi-frameless glass enclosure.
The membrane is the key decision. Sheet membranes bond to backer board with thinset. Liquid membranes roll or trowel directly onto the substrate and work well for complex geometries, but require thicker coats and longer dry time between applications. Pre-sloped foam pans arrive with slope built in—you set the pan on subfloor and membrane over it. This approach can eliminate the mortar-bed step, reducing cure time and potential leak points.
Curbless assemblies and what they demand
A curbless shower sits flush with the bathroom floor. No curb to step over, no threshold to trip on, no visible barrier between shower and room. The floor slopes gently to a linear drain running along one edge or a center point drain. For homes on concrete slabs, this means recessing the slab or building up the surrounding floor so the shower can pitch below finished surface. When you go curbless, the concrete work happens first, and waterproofing becomes critical because water has more freedom to migrate.
The component list for curbless includes everything from the tiled system plus heavier-duty waterproofing, blocking between studs to support the membrane attachment, and a linear drain kit with grate and flange. Linear drains cost more than center drains and require precise sloping from multiple directions. Curbless conversions run higher in cost than basic acrylic or mid-range tiled systems due to additional complexity and materials.
Material costs vary by system, and labor accounts for the rest of total project cost as complexity increases.
Cost & budget planning
When planning bathroom remodel ideas with walk in tub and shower conversions, the budget question comes first. Conversion costs depend on materials, plumbing work scope, and whether you keep the existing alcove footprint or make structural changes.
What system-level ranges look like
A basic acrylic conversion uses prefabricated acrylic panels and a molded pan that mount directly to studs. Installation moves quickly because waterproofing is built into the pan. You get a low 3- to 4-inch curb, a fixed glass panel, and a functional walk-in shower when you keep the existing alcove footprint and drain location.
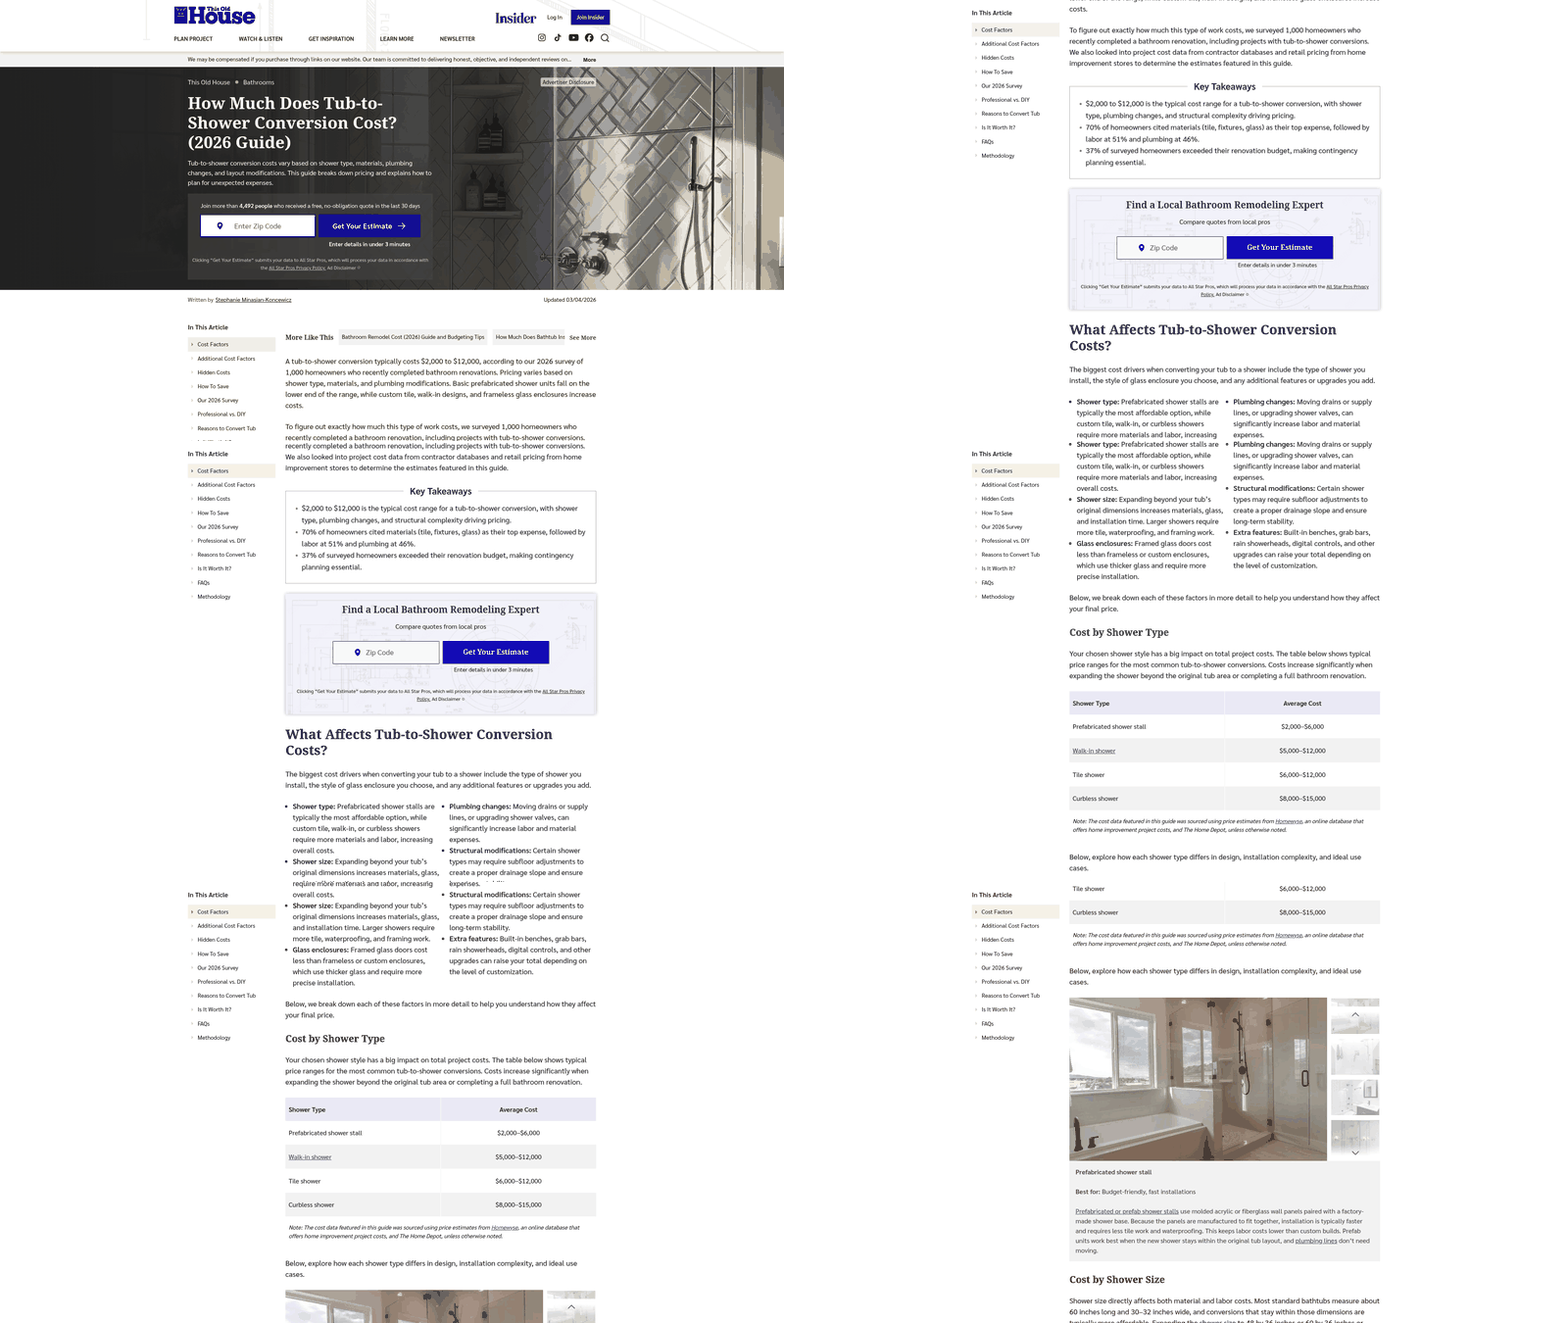
A mid-range tiled conversion adds custom tile, a recessed niche, and often a frameless glass panel. The price jump reflects added labor for waterproofing membranes, mortar beds, and tile setting, which each require cure time. If you want large-format porcelain, multiple niches, or a bench, expect to land in this range.
Curbless or luxury builds involve structural work and premium finishes. A true zero-threshold shower on a slab foundation means recessing the concrete or building up the surrounding floor so the shower pan can pitch to a centered linear drain. That concrete work, combined with frameless glass and premium tile, drives the premium. It makes sense if aging-in-place accessibility is a genuine priority now or within a few years.
Where price variance comes from
Material selection is the most visible driver. Acrylic panels cost less than custom tile, and a framed door costs less than frameless glass. Layout changes push costs higher: moving the drain from the tub’s original end position to the center of the shower floor requires breaking concrete and relocating plumbing. A shower drain belongs near center so the floor can pitch evenly, but the installer should compare the chosen base with the existing waste line before assuming the drain must move.
Waterproofing complexity varies by system. Prefab pans have built-in waterproofing; tiled showers need separate membranes, pan liners, and sometimes a flood test before tile goes down. Glass type matters: a 30- to 34-inch fixed panel runs less than a full frameless enclosure. Slab recessing for curbless designs adds concrete cutting, framing for a recessed pan, and extra waterproofing labor that doesn’t apply to standard curbed conversions.
Hidden condition costs can emerge during demolition. Soft subfloors, mold behind old surrounds, or outdated plumbing that doesn’t meet current code can add to the original estimate. Building a contingency buffer into your budget helps cover surprises behind the walls.
Lower-cost tub-cut options for targeted access
If full conversion isn’t in the budget but mobility is still a concern, tub-cut kits offer a faster route. These systems remove a section of the existing tub wall and install a lowered threshold, creating step-through access while preserving the tub. Installation takes about an hour, and kits range from $800 to $1,200 including professional labor. You’ll wait for sealant to cure before using the shower, but the tub stays in place for resale appeal.
The tradeoff is threshold height. A tub-cut removes wall height, leaving a higher step than the 3- to 4-inch curb you’d get with a full walk-in conversion. For homeowners who need minimal clearance for walkers or wheelchairs, a true low-curb or curbless shower delivers better long-term accessibility.
Alcove-reuse value
When you keep the existing 60-inch alcove and reuse the drain zone, you’re working within the footprint you already own, which holds labor and permit costs down compared to expansions that require reframing walls or relocating supply lines.
Acrylic conversions lean into that value by minimizing demolition and skipping the multi-day cure cycles that tiled showers need. Tiled and curbless designs add components—membranes, linear drains, recessed pans, premium glass—that justify their higher cost with durability and style, but they’re solving a different problem than the homeowner who needs a safe, functional walk-in shower installed quickly in a compact bathroom.
Safety, permits & what goes wrong
When working with a tight timeline on a walk-in shower conversion, waterproofing and precision become non-negotiable. Common pitfalls include rushing through adhesive and sealant cure periods or discovering hidden water damage during demolition. Proper cure time matters. If water hits fresh sealant before it’s fully set, you risk leaks behind walls that won’t surface until mold forces a second teardown.
Hidden rot and soft subfloors are silent project-extenders. During demolition, the caulk seam at the tub lip is where slow leaks quietly feed mold colonies for years. If the plywood feels spongy or shows dark staining when the old tub comes out, structural repair must happen before the shower pan goes in.
Pre-installation checks that prevent rework
Before cutting anything, verify your finished opening width for the clearance you need. Measure twice against your curb height and account for how wall panels and framing will affect final alcove dimensions.
Cut lines need precision. Protect adjacent vanities, floors, and occupied areas with cardboard runners taped down. Construction dust migrates farther than you expect in a small bathroom.
Ask your contractor for photos of the waterproofing layer before tile or acrylic walls go up. Those images become your insurance if a leak surfaces months later. The blocking behind walls—horizontal supports between studs—needs to sit flush so waterproofing membranes seal cleanly.
References
[1] Tub to Shower Conversion – The Home Depot – https://www.homedepot.com/services/c/tub-shower-conversion/f939dd56a
[2] How to Convert a Tub Surround to a Walk In Shower – YouTube – https://www.youtube.com/watch?v=4zupUIM57Go
[3] Tub-Shower Combo to Walk-In Shower | Cost & Guide – https://www.oakwoodremodel.com/replacement-guides/shower/replacing-tub-shower-combo-with-walk-in-shower
[4] Walk-In Shower Conversions: Timeline, Cost, Mistakes – https://aultsignaturehomes.com/walk-in-shower-conversions-timeline-cost-mistakes/
[5] Tub Cut Outs 101: How to Convert Your Tub to a Walk-in Shower – https://www.buildable.ca/post/tub-cut-outs-101-how-to-convert-your-tub-to-a-walk-in-shower
[6] How Long Do Tub-to-Shower Conversions Really Take? – https://charlestonbathexperts.com/miscellaneous/how-long-do-tub-to-shower-conversions-really-take/
[7] 10 Tub to Shower Conversion Ideas for a Bathroom Remodel – https://modelremodel.com/blog/tub-to-shower-conversion/
Common Questions
Can I keep my existing drain location or does it always need to be moved?
The answer depends on the selected shower base and the position of its outlet. Before demolition, the installer should compare the base dimensions with the existing waste line and confirm whether the plumbing can align without compromising the shower floor’s slope. That assessment is best handled during the site visit rather than assumed from the room’s appearance.
What happens if demolition reveals rotted subfloor behind my tub surround?
The damaged material must be exposed, removed, and replaced with sound, properly supported flooring. The surrounding framing should also be checked before the new base is installed. A contractor who documents the condition and explains the repair scope can separate necessary structural work from optional upgrades.
Does a tub cut-out give me the same accessibility as a full walk-in conversion?
No. A cut-out changes entry while leaving the original tub structure in place. It can suit someone who needs a lower step but still wants to retain bathing capacity. A complete conversion changes the base, wall system, and usable floor area, making it the more substantial accessibility renovation.
Why does curbless cost so much more than a standard low-curb shower?
The difference is primarily in how the bathroom floor is prepared and how water is contained at the room’s edge. A flush entry leaves little tolerance for errors in elevation, drainage, or waterproofing, so the supporting work is more involved than installing a conventional raised base.
How long do I really need to wait before using the shower after installation?
Follow the product instructions and the installer’s written handoff instructions rather than relying on the appearance of the finished surface. Sealants, adhesives, grout, and waterproofing products can have different setting requirements. Confirm that the final inspection and any required testing are complete before putting the shower into service.