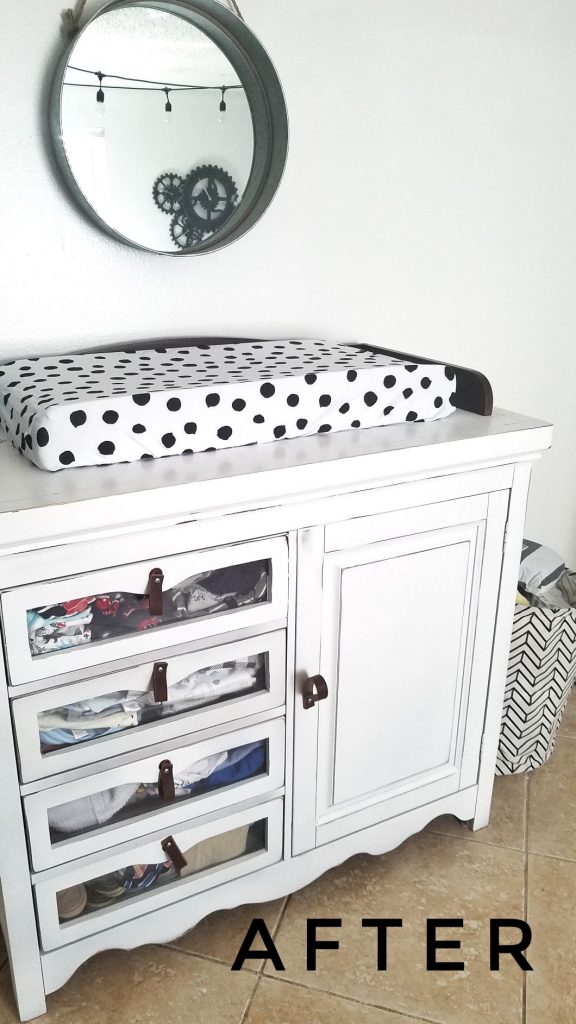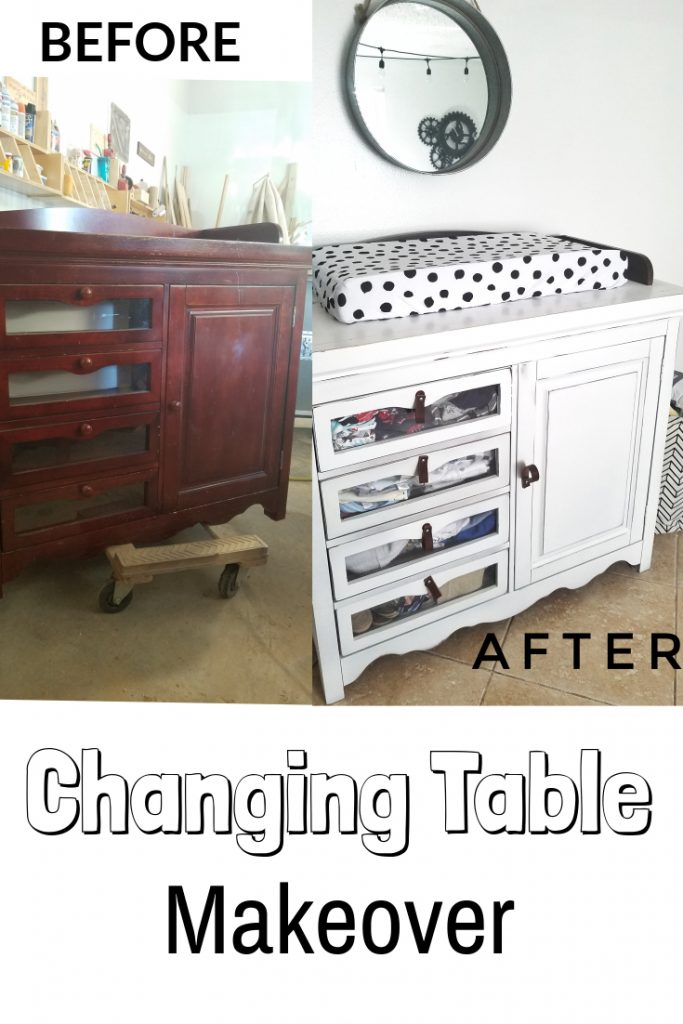
We finally finished painting the nursery furniture and let me tell you I thought we had more time to get everything done but boy time flies when you are pregnant….well everything in the nursery room has taken a long time to finish, mostly because Juan wants to make it all and he won’t let me help him…. Soooo I have to wait patiently for him to build and paint all the ideas I have.
Anyway, so I wanted to do a DIY tutorial on a small restoration we did on the changing table we were given from Juan’s brothers, which by the way these pieces are very special since they have been in the family for more than 10 years and now have been passed on to us.
Here is what the changing table looked like before:
Materials needed:
- Microfiber cloth
- Orbital sander
- 220 grit sanding paper
- 80 grit sanding paper
- Sherwin Williams Harmony Interior Latex paint in Pure White
- Sherwin Williams Harmony Interior Latex paint in Hot Cocoa
- Drill
- Nails
- Leather strap roll
- Scissors
Instructions:
So first step is to damp clean the unit with just a microfiber cloth, soap and water (I didn’t take pictures of all the steps, I get excited, start working and I forget to take pictures, I promise next DIY I will take more pictures).
Then we sanded the unit with a 220 sandpaper just to take the sheen off so the paint could adhere better. We used our orbital sander and sanded from top to bottom.
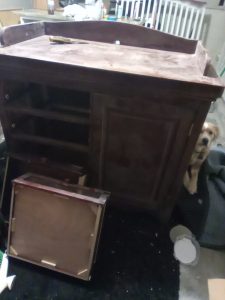
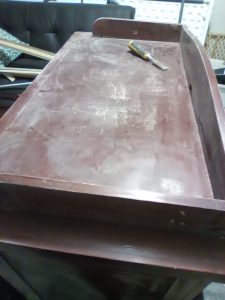
Once the unit was sanded, we took off the hardware and the top pieces of wood because I wanted them in a different color and taped off all the glass.
Finally, we moved on to the fun part and started painting, I used Sherwin Williams Harmony in Hot Cocoa for the top pieces of wood and Pure White for the base. After doing some research I felt this was the safest type of paint to use on nursery furniture. It is a zero VOC type of paint and its innovative technology helps to reduce formaldehyde and VOC levels from carpet, cabinets and fabrics, thereby creating a significant increase in indoor quality.

After two coats of paint, we roughed it up a little around the edges with an 80 grit sandpaper to give it a more rustic look and then I thought hmmm wouldn’t it be nice if we change the handles? So I grabbed some ideas from Pinterest and ended up picking leather pulls, but have you seen their prices? I thought they are a little expensive, so then I figured why don’t we make our own leather pulls? “Oh great” said Juan another project lol. So I headed to Amazon and found this 72” long leather strap, we just had to cut it to the size we want it and drill it to the table.
So this is how it turned out, and I am very happy with the way it turned out, what do you think?
