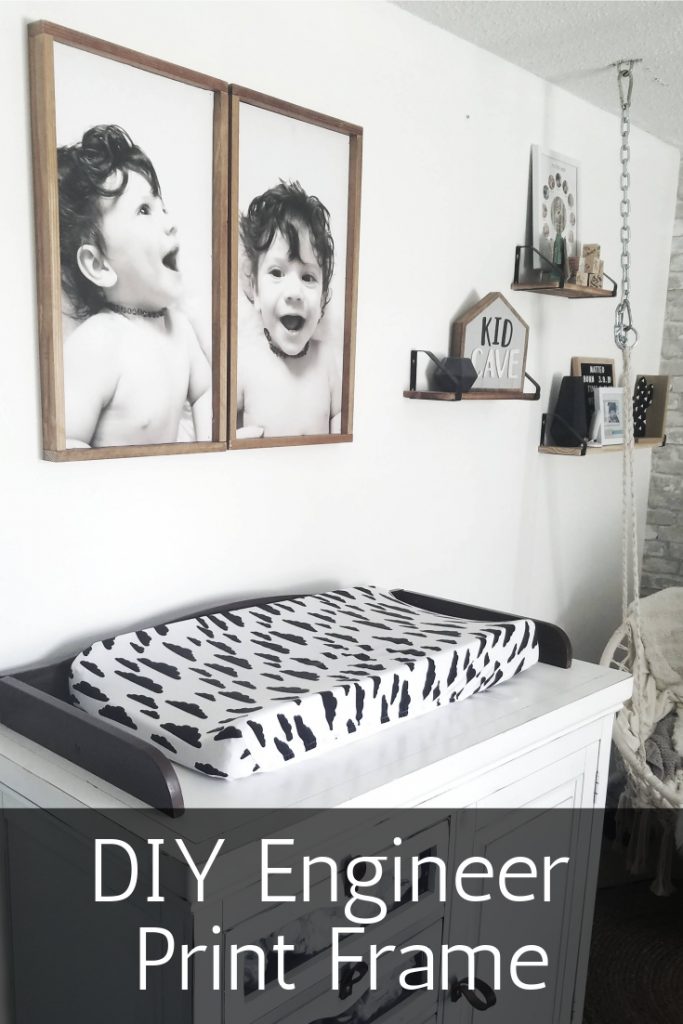
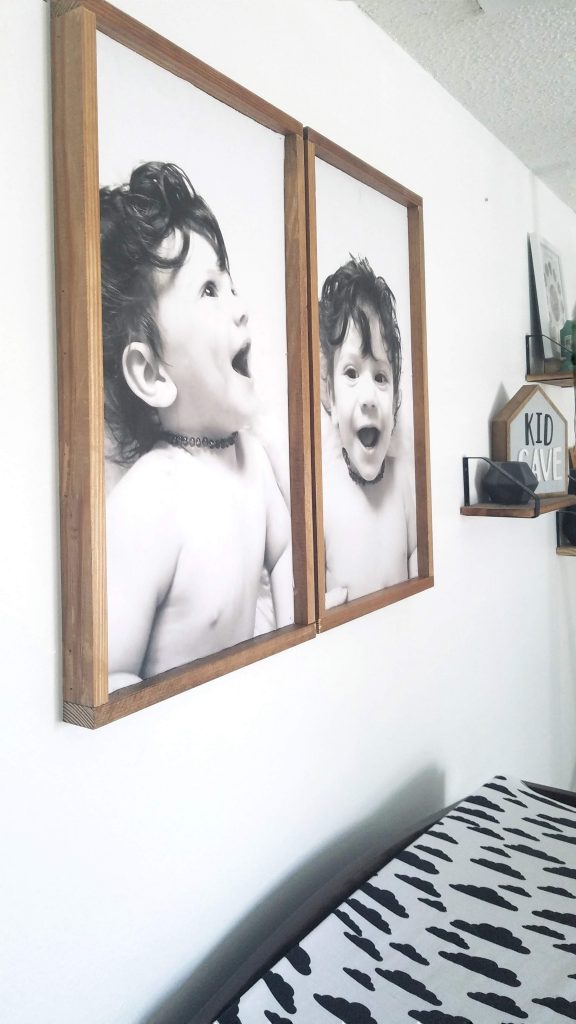
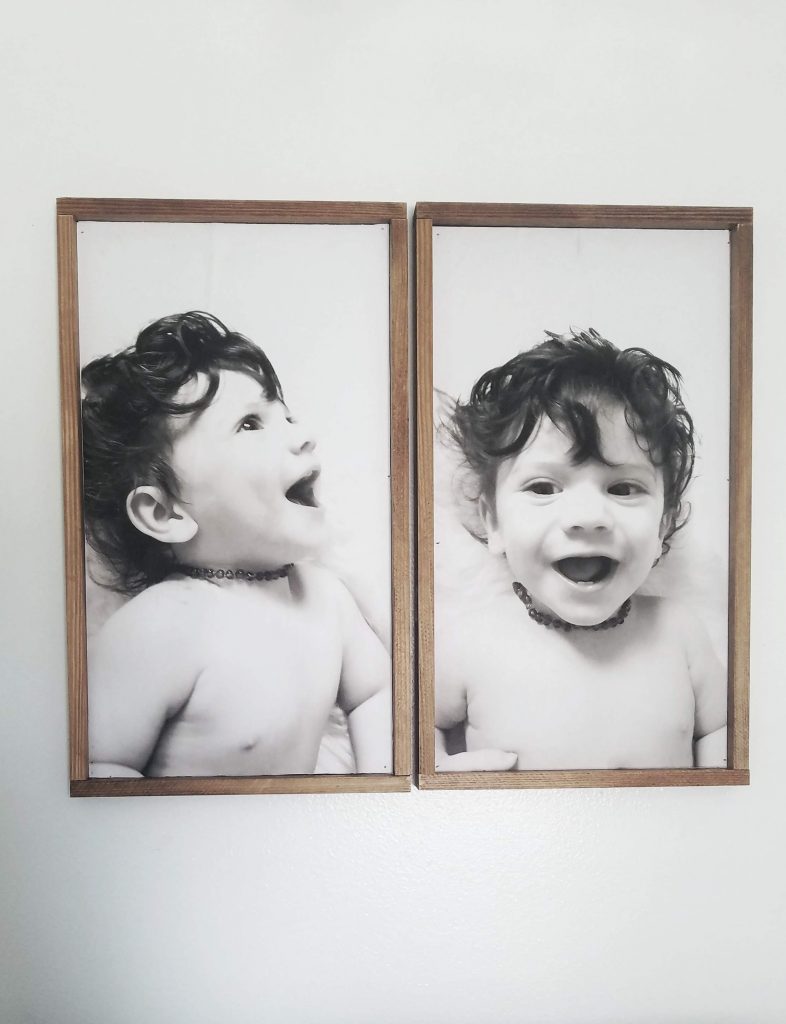
Hey guys this week I am so excited to show you a DIY tutorial of these engineer print signs we made for Matteo’s room. A few weeks back I revealed his room and showed you every piece I used to decorate it, but there is still a few more pieces I want to add and as he grows up there is many more ideas I can’t wait to incorporate. This was my Pinspiration for this tutorial, I saw these on Pinterest and I immediately fell in love with them so I talked to Juan and we made this our Monday night project.
Here is what you are going to need:
Materials:
- 13″ x 24″ plywood
- 2- 1x2x8 pine board
Tool list:
- Adhesive spray
- Credit card to smooth paper- I used my Silhouette Scraper tool
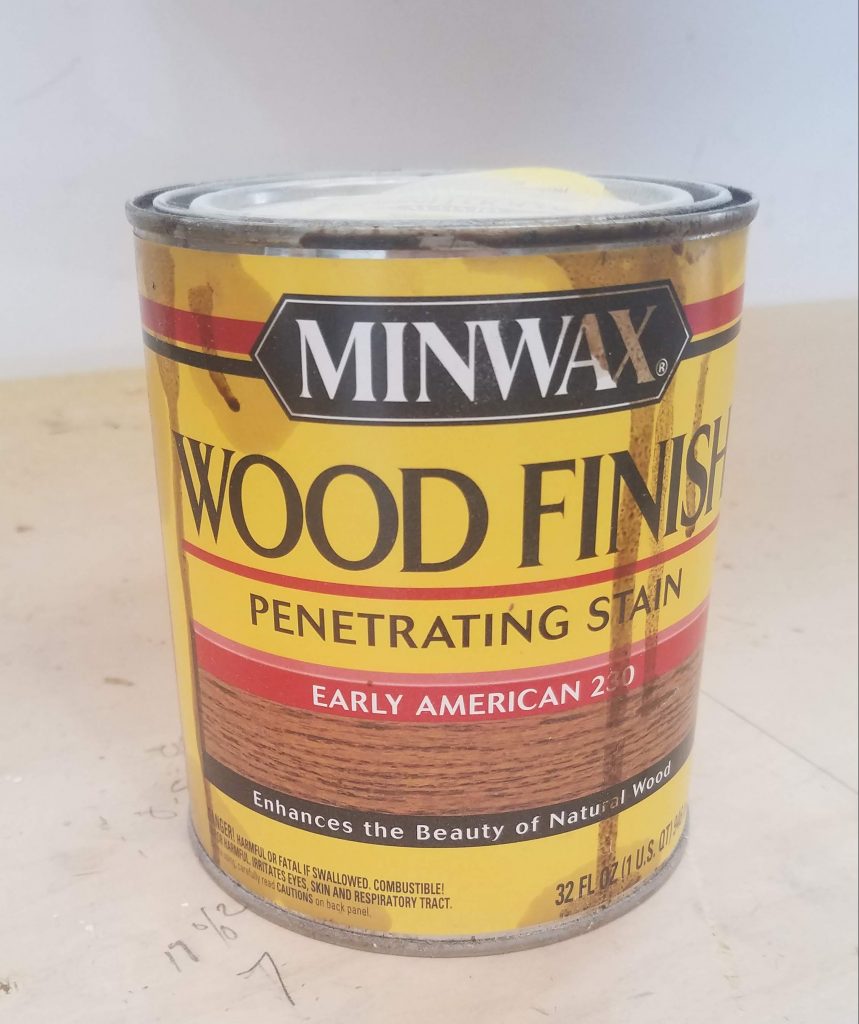
- Stain for the frame- We used Early American from Minwax
- White paint
- Wood glue- We use Titebond
- 18 gauge brad nailer- We recommend Dewalt brad nailer
- Exacto knife or scissors
- Tape- If you are using an exacto knife it helps to tape the print on a flat surface
$5 off with Text or Email Signup
Process
To begin this project, I took lots of pictures on a white background or sort of white and then I edited them and made them black and white using my two favorite editing apps Lightroom and Snapseed.


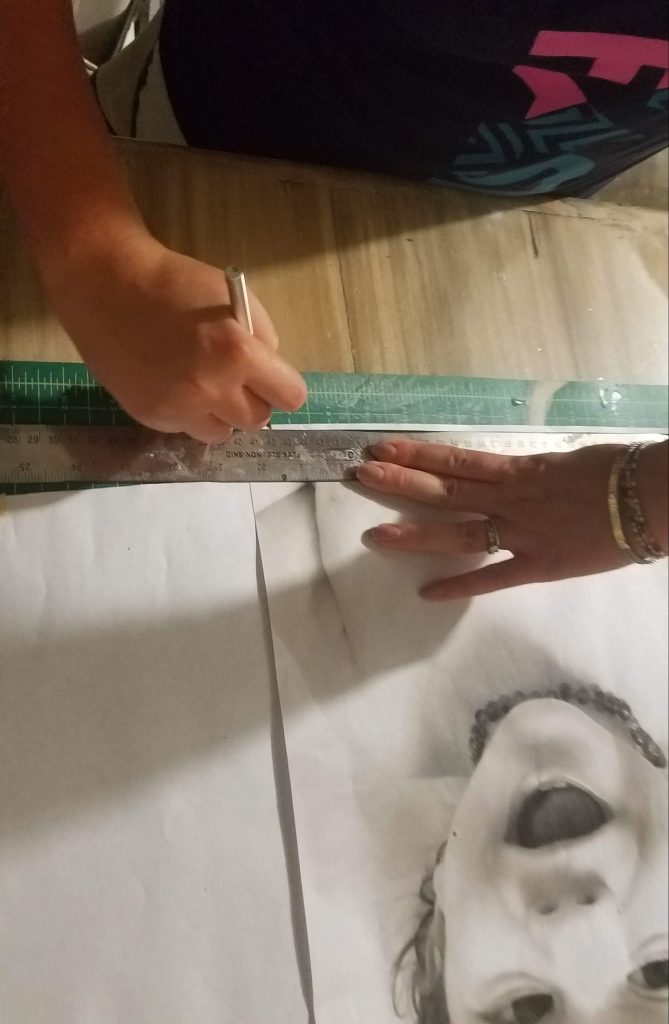
Then, I uploaded the pictures to FedEx and ordered two 18×24 engineering prints which cost me less than $5 for both and they were ready the same day. Wetaped them on our cutting mat and used our exact knife to cut it the size we wanted it which was 13×24.
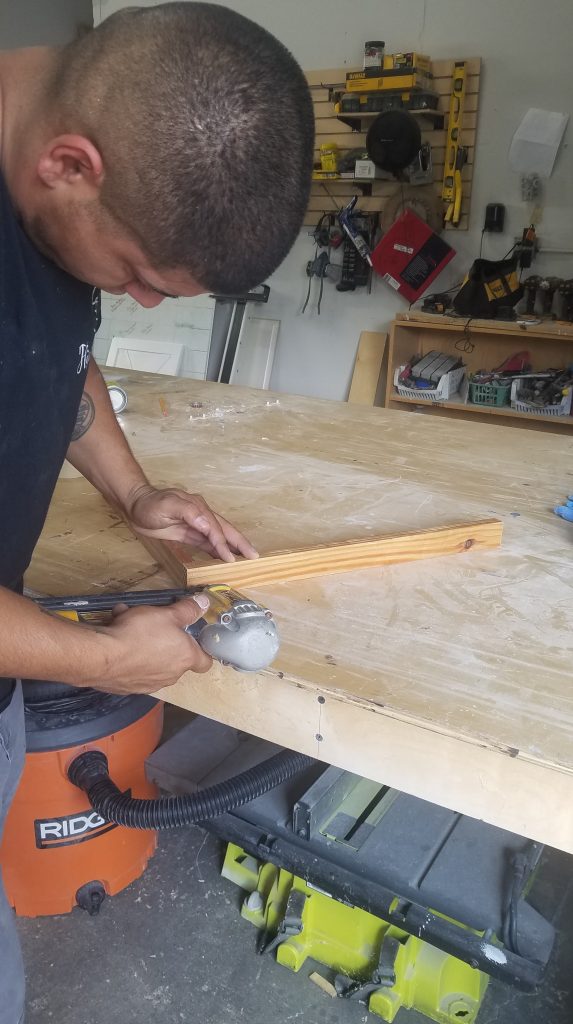
Juan brought home the wood already framed and painted so we just had to glue the print on it. But during this step if you don’t have the tools you can head to your local home improvement store and have them cut the wood pieces for you. You would need them to cut one piece of plywood @ 13”x24”, 2 pieces of the 1×2 cut @ 23 ¼ and another 2 pieces cut @ 14 1/2 (this is what’s needed per frame).
Then paint the plywood white and while that’s drying, apply one coat of stain to the 1×2’s.
Since Juan brought them home already made, we glued the print with the frame already attached but I would glue the print first and then attach the frame after.
To glue the print just spray the adhesive onto the plywood and slowly adhere the print while smoothing out the air bubbles with a scraper, making sure the print does not rip.
Finally, glue and attach the frame with a brad nailer.
I really love how they turned out. They are definitely going to make great Christmas gifts to our family!
Be sure to follow us on Facebook, Instagram and Pinterest. You can also follow my personal account for more #momlife .